Pages

April 29, 2013

30 Minute Room Update: Striped Accent Wall

If you're anything like me, then letting anything in your house stay the same for too long drives you crazy.

I mean, there are certain things I'm not just going to up and change, but most things in my house are subject to be moved around, painted, stored away for a while or altered in some way to keep up with my ever changing DIY-ing mood. 

And I'm ever so lucky that my sweet hubby is ok with that. 

I'll prove it. 
Here's the convo that happened just a few weeks ago in our house: 

(And let's remember that this was supposed to be a 'lazy' day around the house-ha!) 
Me (sitting on the couch): "Honey, I think I'm over that wall right there"
Hubby: "Which wall??"
Me: "That one. The one I'm staring at. You know, behind the TV."
Hubby: "What do you mean over it? It's a wall."

Me: "Yea... but I think it could look a million times better. With stripes. I want to stripe it."
Hubby: "Like right now?"

Me: "Is that okay?"
Hubby: "Ummm.... sure. I guess. I didn't think there was anything wrong with it though." 

My poor, sweet hubby.
But let me tell you, our thirty minute project made a huge impact in our living room!!
And yep, I said THIRTY minutes.
It's that easy :) 

Here's the wall in question: 


It's fine. It's blue. 
So nothing horrible. 

But I thought it'd be the perfect accent wall for the living room. 
I love to jazz things up :) 

Hubby is a little OCD about getting things straight.
I'm more of an 'eyeball-er' when it comes to taping so he decided to take over this part. 
Literally the longest part of the whole project. 


...............Thirty minutes later.............


Isn't it gorgeous??!!?? 


We used Sherwin Williams 'Snowbound' which is my FAVORITE go-to white. 
We taped it off, rolled on the paint and then pulled the tape off. 

Easy peasy. 
Here's the quick before & after: 


I think it makes such a difference in this room. 
Adds a touch of glam & personality for sure. 

And since it was such a small wall, it didn't take any time at all to get it done. 


I'm kinda obsessed with stripes and I"m not going to lie,
I've been seriously judging all the other walls in my house to see if they'd benefit from some striping action too. 
But a little goes a long way and for now, they're safe :) 


Sooo...
what do you think of our thirty-minute project?? 

Do any of you get bit by the 'change it up' bug like I do? 
And does your hubby play along as well as mine? :) 


post signature


Pin It
Like me on Facebook. Follow me on Pinterest. Subscribe to my feed


April 24, 2013

My Thrifty Tips to Creating a Gorgeous Spring Mantle

Sooo...

did you guys get a chance to check out my spring mantle reveal I shared last week? 
If not... you'll definitely want to so that this post totally makes more sense :)

This is super exciting for me because it's my first ever 'tip-giving' post! 
I hope it helps provide some inspiration to you by giving a little insight into my own creative process!!


I wanted to share the 'behind the scenes' part of how it all came together. 
Because decorating my mantle is probably my favorite thing to decorate in the house.
Ok... so I KNOW it is my favorite. 

Here's the finished product in case you need a reminder...


But it definitely did NOT start out with all these pieces.
Most started as discarded junk... things that were plain & would be very easily overlooked at first glance. 

Here's my major tips when you're starting to decorate a mantle from scratch: 

1. Sketch it out. 
Does that sound weird? But it soo helps. I do it for almost every time I switch things up for the season. It gives me a jumping off point for my design. Sometimes it all centers around something I already know I want up there and sometimes I just start drawing and make what I have (or find!) work with the vision in my head. 

And trust me, I am NOT an artist. Most of my drawings are squares with arrows explaining what they're supposed to be. ha! So don't feel pressured to sketch a masterpiece :)

2. Look at what you already have. 
My first place to go when I start coming up with ideas is my junk pile. I walk out to the garage and just start looking around. I also keep an area where my 'seasonal' things are kept that could be used for other set-ups such as painted doors, shutters, frames & other various items that could easily be used as neutral pieces for every season. Shop your house if you need to and bring something from another room. It's an easy way to get a fresh look when you just switch what you already have around to new places.

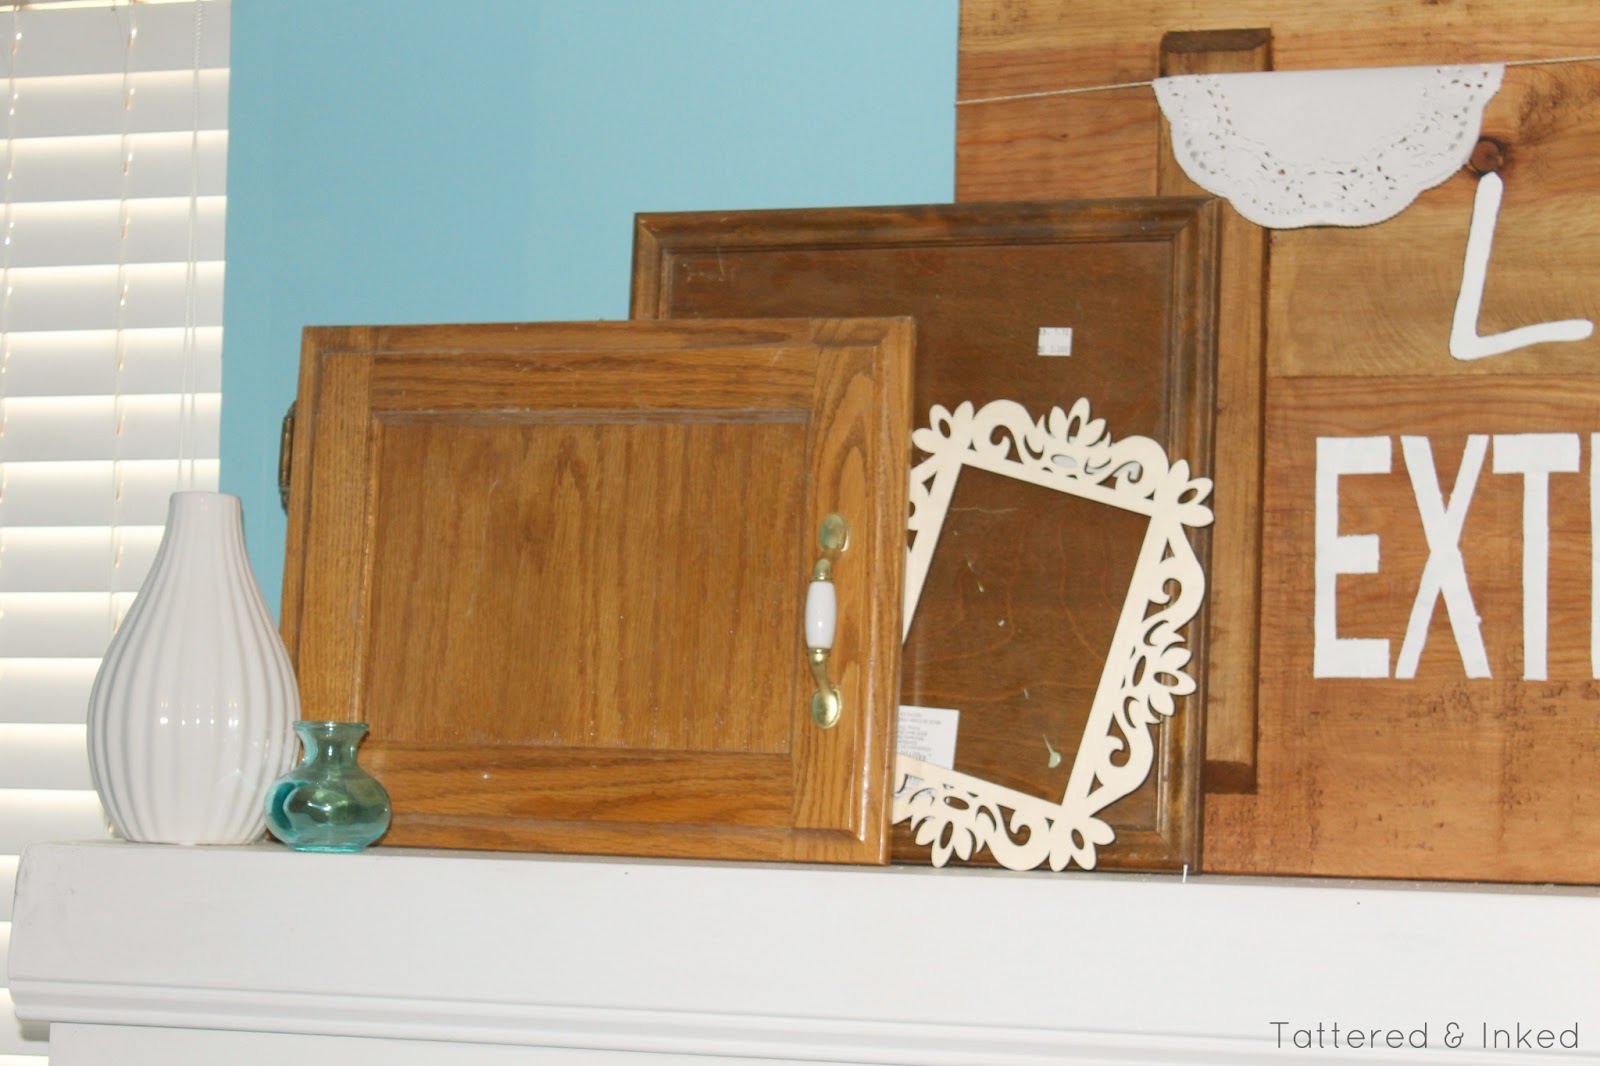
Most of the pieces from my spring mantle were 'junk' pieces I had lying around waiting to be used for something awesome. 
Like these cabinet doors: 


3. Go 'treasure hunting' 
It could be your favorite thrift store, bargain area, yard sale or even curb-side shopping. 
Go looking and find something you love. Sometimes the most unexpected things pop out at you and it becomes the 'star' of the whole thing. 
Like the piece that became the star of my spring mantle. 
I found it on the side of the road and knew instantly that it would be gorgeous with some kind of lettering. I designed my whole mantle around it so it would shine! 
But at first it was just a blank piece of discarded wood: 


4. Think about what could be not what already is. 
That sounds like a sappy line from some movie but it's true for this!!
When you're out shopping, keep your eyes out for shapes that you love. Lines that are interesting. Things that catch your eye even if they may be painted in the most hideous shade of chartreuse ever. Which leads me to...

5. Ask yourself questions.
Can it be painted? Is it wood? Metal? Glass?  Then the answer is nearly always yes.
Just because it has a weird animal motif or bad paint job doesn't mean that an awesome chunky frame or curvy vase couldn't become something stunning. 
Try to be open-minded and let yourself think about what it could look like with a good sanding or a coat of paint. 

Check out these before and afters for some examples of what I mean: 


The before: 
2 cabinet doors from my 'junk pile
An unfinished frame from Michaels

The After: 
One of the cabinet doors was painted in a cheery yellow with a while vinyl 'you'
The other door was painted in a glossy white with the Michaels frame painted blue & attached with hot glue. 
I  also added my 'extraordinary' printable from Valentines Day. 


The Before: 
A cabinet door already painted from my 'seasonal' stash
A Goodwill frame (with a plain, ugly finish)
Dollar Store Mirror

The After: 
I recycled my cabinet door from my fall mantle 
 The goodwill frame got a fresh coat of blue & I added my 'He is mine' printable
The Dollar Store frame was painted in the same yellow as the cabinet door before. 
The little cork 'C' was a gift. 


I found a couple scrap pieces of 2x4s in the garage and stained them espresso brown for my chevron hanging. 
Then stenciled over the stain with a glossy white. 

The last (and I think most important) tip I can give you is...

6. Make it you. 
Add your favorite colors, some pieces that make you happy. Throw in some favorite family pictures or printables that tell your own story. 
Add a handmade sign that says something important to you. 
Or just plain makes you smile.
Because it's your house and it should make YOU happy. 
After all, you're the person who will be seeing it most of the time. 


Every time I walk into my living room, the first thing I see is my 'life is extraordinary' sign. 
And it makes my heart smile. 
Not only is it so reflective of the past year but it's a wonderful reminder even on my most grumpy days :) 

There is potential in so many, random things that most people would call junk. 
Start training your eyes to look past that and see what it could become! 


Things don't always start off perfect & beautiful. 
Personally, I love the thrill of finding pieces of junk and turning them into something I love and that other people can love too. 
Plus hubby appreciates it because it doesn't break the bank :) 

But look what a little junk can become: 


Full item list (from left to right) 
Yellow Sign: Painted cabinet door
Tiny aqua vase: Thrifted
White Sign: Painted cabinet door + Michaels unfinished frame
Yellow Planter: Dollar Store (and I didn't even paint it!!) 
"Life is Extraordinary" sign: Curbside rescue 
Chevron Painting: painted 2x4s from stash
Yellow Mirror: Painted Dollar Store Mirror
White Door: Painted Cabinet Door
Cork C: Hobby Lobby
Blue Frame: Painted Goodwill frame
Fleur de lis: Hobby Lobby
White Vase: Hobby Lobby
'Spring' Banner: DIY project (tutorial coming soon!) 

I hope these tips helped in giving you the inspiration to create your own mantle decor (or any home decor!) from thrifted and found treasures. 

I'm still constantly surprised by the power of paint & a little creativity. 
Don't be afraid to try out different things until you get what you like. 
I promise I usually end up with something quite different from my original sketch because I tweak here & there to make it just right. 


It really is so much fun & you'll have the option of making it completely YOU!!

Happy decorating :)


.....................................................................................
Don't forget to enter the giveaway for your own Origami Living Locket!! 
It's super easy to enter- click here for the giveaway!
........................................................................................


post signature


Pin It

April 22, 2013

Origami Owl Living Locket Giveaway!!!

I have such an exciting giveaway going on for you guys today!!!
Promise not to freak out :) 

Have you heard of Origami Owl lately? 
Because if you haven't, you'll die over how beautiful and sweet these jewelry pieces are. 

They have what they call 'living lockets' which are such an amazing way of showing off your personality and what you hold closest to your heart :) 

I hooked up with a wonderful independent seller, Mariella Luna, and we worked together to bring this wonderful giveaway right to you!!!!
Are you excited?? 

Bet you're not nearly as excited as I was to receive my gorgeous locket that Mariella sent me: 


I'm absolutely in love with this beautiful necklace. 
It tells such a beautiful story and is my new 'go to' piece to wear all the time. 

And the fun thing about them is it's completely up to you  in how they look. 
There are tons of different gorgeous lockets to choose from and then you get to choose from charms, dangles and stamped plates to make it tell your own story. 

My story is a stamped 'love' plate, a 'C' charm, a mom heart charm, blue footprint charm and a tiny ring. 
Little man loves looking at it when I wear it and knowing that he's in there too :) 
He'll name off the different charms and why they're special.
I love that it tells the story of my family!


Origami Owl was founded in 2010 by a 14 year old girl (isn't that awesome?!) whose mission is to love, inspire, and motivate women of all ages to reach their dreams and empower them to make a difference in the lives of others. 

Personalize your heart out with the various charms, metal choices and gorgeous accessories they offer. 
Right down to the chain you want it to hang from.

You can browse Origami Owl here and build your own Living Locket and get information about becoming an Origami Owl Independent Seller. 

Buttttt.....
 We're making it easy on you today and are giving someone their very own Living Locket!! 
Here's what you'll win: 
*Large Silver Locket
*3 Charms of your choice
*A ball station chain
*The new Rascal Flatts 'Changed' tag

That's over a 60$ value!!!

To enter, use the Rafflecoptor Widget below and get those entries in!!! 


Good luck everyone!!!
I can't wait to pick a winner for this one, I know you'll love your Living Locket as much as I love mine!!!

A HUGE thanks to Mariella Luna for hosting this giveaway!! Be sure to give her some love on her Facebook page!!


post signature


Pin It
Like me on Facebook. Follow me on Pinterest. Subscribe to my feed


April 18, 2013

Spring Mantle 2013 Reveal!!

I know, it's nearly halfway through spring already.
But we still aren't getting consistent spring-like weather.
Boo.

Today we're getting tornadoes.
Be jealous. 

Sooo I've been dying to share my latest mantle update and I'm finally getting around to being able to share it with you!

If you guys have followed me for a while, 
you know that I love taking thrifty treasures and transforming them.
I love having a little stash of pieces that I'll be able to pull out for projects like this.

I'm one of those people that goes straight from Christmas decor to spring decor.
I just don't mess with valentines and 'winter' decorating much. 
So right after Christmas decor came down,
I started thinking about what to do for a spring mantle. 

I knew I wanted to incorporate pieces showing me & hubby's newfound love somehow.
What can I say? We're hopeless :) 

So I pulled out pieces from my ever-growing stash of treasures and started playing around.

My vision for my spring mantle all stemmed from this: 


I found it on the side of the road and knew instantly it had to be a centerpiece somewhere!
The wood grain is gorgeous and I was completely in love with the natural color of it. 
I have no idea what it's supposed to be but it came home with me :) 

I rubbed it down with some wood reviving polish I had and let it sit up on the mantle for a few days deciding how to make it shine. 

Well, remember when I shared with you at the beginning of the year that our family word this year is 'extraordinary'?
I decided that our mantle needed to display that proudly.
So I settled on 'Life is extraordinary'. 
Simple, to the point and oh-so-true. 

So my sign got some simple stenciling...


Annnd....
Here's the mantle after figuring out what to do with that guy:


Gorgeous, right??
Basically,  I started pulling things out of my stash and playing.
I'll be sharing more tips on how I go through my creative process tomorrow :) 

For now, just know that I used my huge board as my star and made everything else work around it. 
I played here & there with pieces until I got a layout that I loved.
Then enter in the spraypaint, glue gun & small accessories. 

Here's the end product: 


Ah! Color and typography & greenery!!!
It's so airy and fresh. 
I'm in love with how it turned out!!

Can you believe it's using all the same things from the picture before??? 


I couldn't resist buying up a few succulents at our local market a few weeks ago. 
This one got potted in a dollar store pot and set on the mantle for some much-needed natural beauty :) 


I'll be sharing more about my spring banner later. 
Isn't it fun? 


At the beginning, when we first found each other again...there were many times when hubby and I would just look at each other with a big, silly grin on our face. 
The other would say 'What?'
And we'd inevitably reply 'Nothing. It's just...you." 

Because it's still pretty amazing that we get to be together.
Thus the big 'you' sign that made it on the mantle. 

I'm also in love with that tiny blue vase that was a fun thrifty find. 


Remember my chevron wood art I made for my fall mantle
I decided to make a smaller version for this one. 
I loved it that much :) 
More on that later too. 


My tiny gold fleur-de-lis always seems to find a spot somehow.
I'm in love with the random cork 'c' that my sister got me for my bday too. 

The other pieces are mostly thrifted treasures besides that gorgeous white vase from Hobby Lobby that I treated myself to for my bday last year. 

Are you loving the doily banner on the 'extraordinary' sign? 
Took about 10 seconds!!
I folded over doilies from Michael's dollar spot and strung them on Baker's Twine.
Easy peasy.


I'm obsessed with blue & yellow together this spring. 
It's so vibrant and happy looking.
If you're like me, spring is my favorite time of the year because everything is bright & cheery. 
I love bringing that inside a bit :) 


Here's the snapshot of that whole side of the living room in case you were wondering. 
Those tiny windows on either side drive me crazy but they do let sunshine peek in so I guess I can't complain too much. 

Don't you love the basket full of cars too?
Just keeping it real, guys :) 


I love the side-by-side of how it all came together.
Who'd have thunk that so many plain & out-dated pieces could be so happy and cheerful? 


So, do you love my spring mantle as much as I do? 
What colors are you loving this spring? 

I'll be back tomorrow to share some tips & more in-depth explanations of how I transformed some of these pieces so be sure to check back!!
Hope you guys are having a great week!


................................................................................................
Looking for more? 
...............................................................................................
Check out last year's spring mantle here

how I updated my fireplace with a simple can of spraypaint!


post signature


Pin It