Pages

October 28, 2011

A Little Table Redo

This week has been stress-city for us.
How about you?

If you follow me on facebook, you know that we took an impromptu run out to Competition, Missouri for a funeral.
Beautiful country, sad occasion.
And driving eight hours in a 24 hour period is rough.
Especially having class the very next day to catch up on.

I thought it'd be a pretty normal week of school but they love to throw stress-covered wrenches into the mix.
So keep your fingers crossed that I get good numbers in our lottery next week so I can pick decent electives.

Because that basically determines my stress load for the next year.

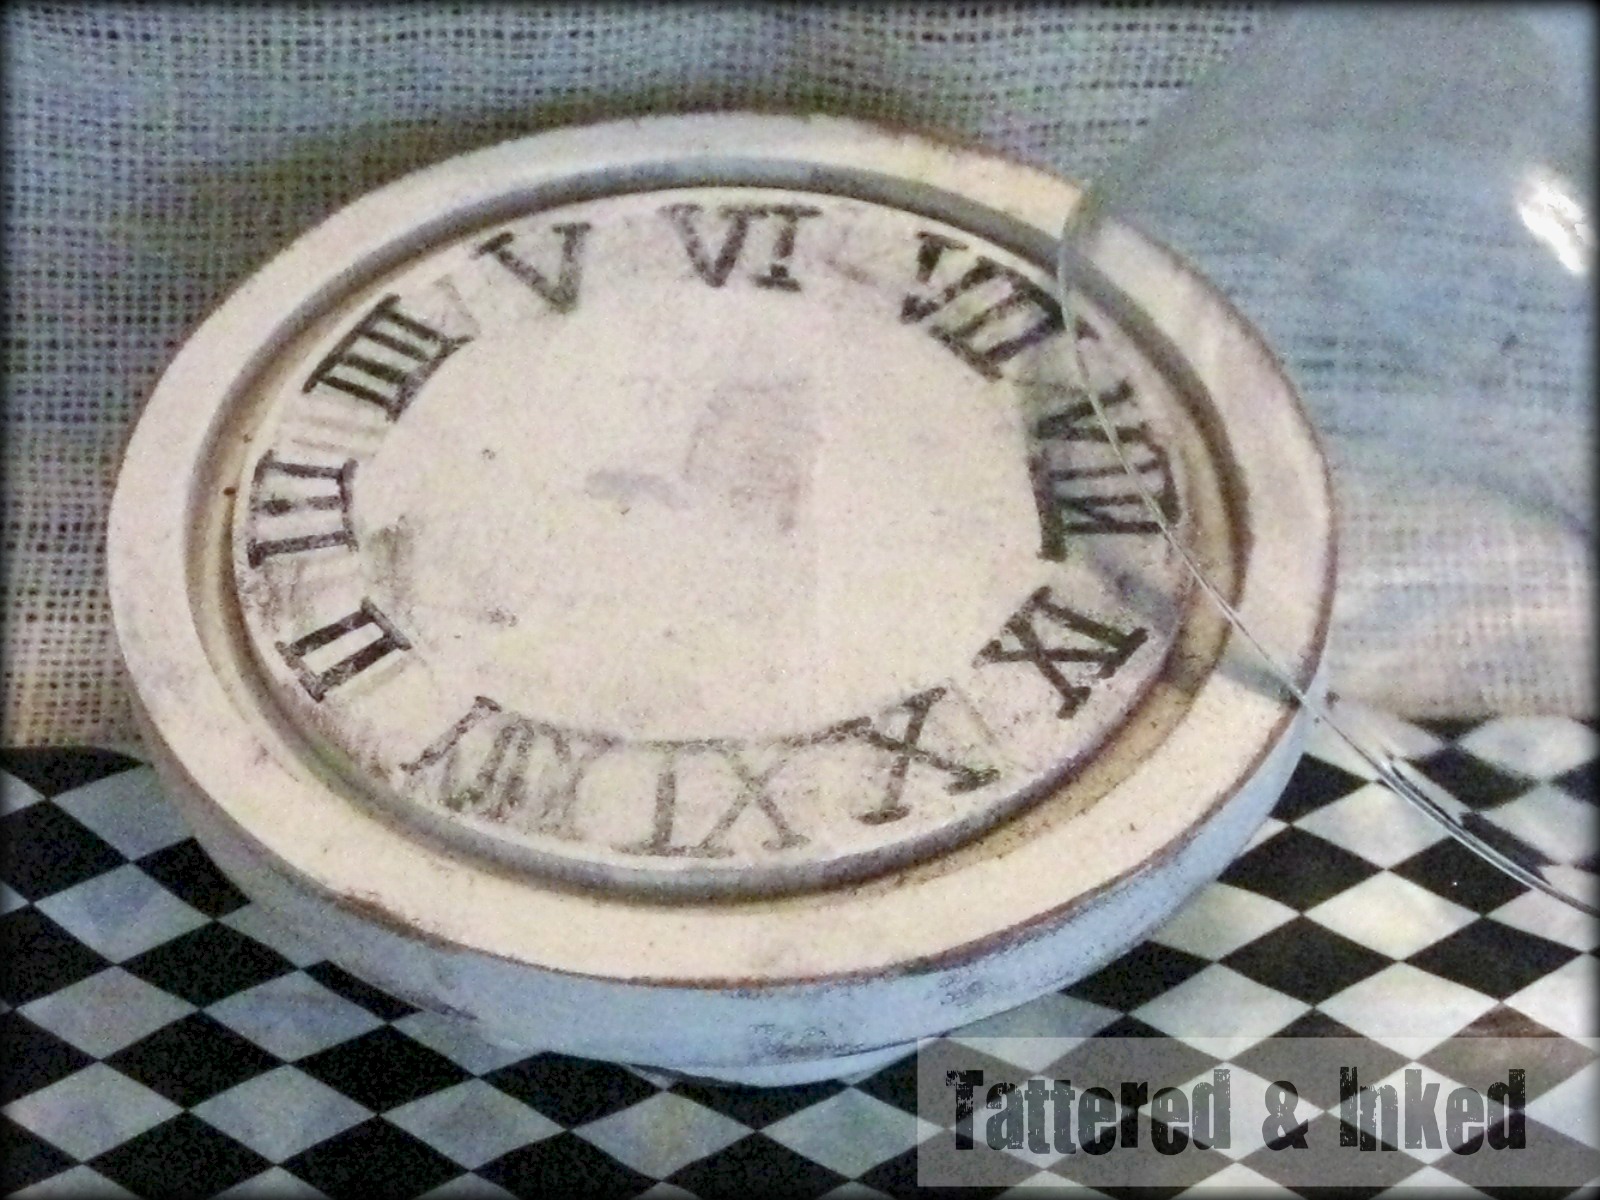
I took a bit of a break from fall this week and showed you my clock cloche on Monday.
So I thought I'd follow that trend and show you a quick furniture redo, kay kay?

I got this, er, beauty from goodwill a while back.
Cheap as dirt...and I think dirt was looking better...


It was outdated, worn out and needed a fresh facelift :)
So paint to the rescue!

I painted it my favorite go-to color at the moment- Pottery Barn Cream.


And then decided to add some extra fun to it with some stripes.
I taped them off with painters tape and used a glossy black for the stripes.


Aren't they purty?


I also added a stenciled design in the same glossy black to the bottom level.
In a total ADD moment, I failed to notice that my fleur-de-lis stencil I had just bought also included hearts...
hmmm.
I probably would have done something to get around that if I had not been so excited about the fleur de lis.
So they stay for now.


I used my antiquing glaze to go over the whole piece and then sealed it all with a clear gloss.


I love the stripes and the extra 'oomph' they give to it.
Doesn't everyone love a piece with 'oomph??'


And you can't go wrong with the classic black and white...


This piece was already put up on good ole' Craigslist and sold pretty quick.
Yay!


So I'm really hoping it's new owners are loving it :)


A quick before and after shot.
From sad and tired to fresh and 'oomph'-filled :)


Have you painted any fun pieces lately?
I'd love to see them.
Head over to my facebook page and share them with everyone!!!


I hope you guys have a fantastic weekend.
Mine will be filled with papers, figuring out my schedule and hopefully a couple of fun projects!!

Happy Friday my lovely followers  :)

post signature

Linking to:

October 26, 2011

Salvaged & White-Washed Wood Pumpkin

Last week I got the chance to guest post during Pocket Full of Pink's Monster Craft Bash!!!
She had so many great guest posts and ideas so be sure to check out the awesome line-up!

I'm re-posting my project here so ya'll can have a look :)
Cuz it's one of my favorite fall projects I've done this year!
_____________________________________
I thought I'd show you guys a fun fall pumpkin I made this year using some salvaged fence wood I got from a friend!
In exchange for helping to build her a bookshelf, she gave me all the left-over scraps :)
Score.
Because they were completely beautiful, weathered pieces of wood.
(The same beautiful wood I used to make this sign)

First, I trimmed the edges so that the outside pieces had angled corners at the tops and bottoms.
Makes a nice little pumpkin shape!


I nail-gunned a random scrap of molding to the top of my pumpkin for it's 'stem'.

Isn't he a nice little weathered pumpkin?
I am completely in love with the natural grain on these pieces of wood but I wanted to tone down the dark wood color a bit.


So I took him inside (oh yea...I live on the dangerous side!)
and mixed some white paint with quite a bit of water and started to white-wash.
It was exactly what I was going for.

It kept that natural grain pattern but gave it a lovely white color.
You just keep white-washing it to make it as 'dark' as you want it to go.
I did quite a few coats on this.

The top 'stem' got a little bit of dark stain added to it.


I wanted to add something to the middle to glam it up a bit so I typed out 'Harvest' onto word in a fun, fall-ish font.
Those of you lucky enough to have a silhouette could get this done in, oh, two point five seconds.
I did it the long way around.
Type up. Print. Cut out with exacto knife. Stencil.
More like a good thirty minutes.
But totally worth it :)


Love the jet-black against the white-washed wood.


I added a little flourish too...just cuz.
Love the bright orange.


You like my little pesky weed that got into the pictures?
Nice, huh?


Buh-bye weed.
Hello pretty wood pumpkin.


I'm loving how he turned out.
I cant' get over that gorgeous fence wood.
And to think that the owner was just going to toss it out!!


The grain looks so pretty behind the wording...
and he's the perfect addition to my fall decor :)


If you don't have your own random pile of scrap fence wood,
new wood from Lowes would do just fine too :)
Just look for some pretty grain if you want to white-wash!


I hope you enjoyed seeing my little wood pumpkin!!
What's been your favorite project this fall??

The weathermen keep saying we're getting winter weather starting tomorrow...
but they very rarely know what they're talking about so I'm not exactly scrambling to get all my winter clothes out yet...
but I am scrambling to get little man's costume ready...eek.
Wish me luck :)

post signature

Linking to:

October 24, 2011

My Clock Cloche

Happy Monday my lovelies!

Is it okay to use happy and Monday in the same sentence???

This week is going to be crazy busy.
I have a 'to do' list about a million yards long and most of them are school-related.
I'd much rather it be crafty...

Although I do have a crafty checklist going too...
they just aren't as high priority as my non-fun one.
Boo.

So, remember last summer when everyone was crazy about cloches?
Those cute little things that were taking over thrift stores and bloggers started going crazy over?
I joined that cliche a little late but loved my white one I put together.

I snatched up another one this past spring just cuz you never know when you'll need one, right?
And I got to painting it this summer.

Here's the cutie I picked up along with the bottom of a candlestick that I was messing with and it, er, fell apart.
It may or may not have been provoked.
But I thought it'd be perfect with this guy.
See? Things happen for a reason :)


I painted them both with gloss white.
Doesn't the base look pretty all scuffed up?
I love the brass showing through.


The bottom of the cloche got painted white and scuffed up as well.


I saw this way cute idea somewhere...and obviously before Pinterest was becoming the thing to use.
Because I have no idea where I saw it.
So if you know, kindly guide me to it and I'll give proper credit.

I just loved the roman numerals.
I used the technique of printing it on regular printing paper, then tracing over the pack of it with pencil onto the wood.
It leaves enough ink residue to fill in with a black marker.
Easy :)


I lightly distressed it again with my mouse sander and scrubbed the dome top 'til it gleamed.

And he turned out so pretty, huh?


I love the vintage look it has now.
Much better than just a plain old cloche.


Oh...and the base is just glued on with hot glue.
There are stronger glues out there more suited for it...but it's held up so far so hot glue works too :)


I'm kinda digging it with the harlequin paper I pulled out for his photo shoot.


I'll give you a sneak peek as to where it ended up...
making friends with my photo blocks.


I can't wait to show you the whole deal-io but if you can't tell, my table is still kinda ug-lay.
So you'll be seeing it when I get the chance to beautify my table.
No promises on when that will be.

But it should be well worth it.
At least the picture in my head is :)
We shall see.

In the mean time, you can just look at the cute cloche!


Have you made any cute cloches?
Or used them in your decor lately?

I'd love to see them- head over to my Facebook page and share pictures or tips on using them there!!

Happy Monday lovelies- hope it's as great as a monday can be!!


post signature

Linking to:

October 21, 2011

Twine & Feather Wreath: Mini Me Version

This week has flown by in a weird way.
I know that fall break will fly by too.

I spent yesterday at the pumpkin patch for little man's field trip.
And today we're headed to the fair for a bit.

Then it's working on projects and painting the enormous airmoire that's around half-finished.

I'm excited to see some projects finished :)

Remember my feather wreath I showed you last week?
I made the mini-me version too.

I told you, I'm obsessed with the whole wrapping the wreath part.
It's soothing somehow.
And gives me something to do while watching the Sing off with hubby.

So...mini me feather wreath...with twine this time.


I'm in love with the texture of twine and it worked perfectly on this wreath.
It's a smaller wreath form so wrapping it took no time at all :)


And the fact that all I did was wrap it with twine and then hot glue a feather embellishment from Hobby Lobby onto it didn't seem to warrant a full tutorial so all you get is pretty pics :)


I love this little wreath...

and it's a great, easy touch of fall.

Oh...here's another peek of fall at the pumpkin patch...
Little man loved the punkins!


I hope you guys have a great weekend!!!
I'm planning on enjoying my small break so that I can face the chaos of school again next week.

I'd love to see YOUR fall wreaths- head over to my facebook page and share them there!!

On another note:
**I'm looking for some fun giveaways to host during the week of November 14-18th for a fun Christmas event I'm doing- if you're interested, shoot me an email and I'd love to work with you on setting it up!!**

post signature

Linking to:

October 19, 2011

I'm hanging here today....


at the Monster Craft Bash at Pocket Full of Pink!!!

Come check out a new fall project I shared and browse through all the other wonderful guests she's had!!
Hope you're having a great mid-week!
Today is my friday since fall break officially starts today so I'm jumping for joy :)


post signature

October 18, 2011

4x4 Chunky Painted Pumpkins

Okay.
So there about 2.34 million tutorials out there for wooden pumpkins.
And this one will be 2.34 million and one.

Because they're so dang easy and cute.
And these are super chunky :)

You gotta love some chunky little pumpkins.
And I'm definitely getting some use out of my random 4x4's I keep picking up off the side of the road.
I made a few quote blocks with some parts of a 4x4 last week.

Me and little man decided to start a craft project a couple weeks ago and of course, he wanted to make some pumpkins.
And 4x4's were perfect...and easily on hand.
I love the pretty weathered wood color.


I used my lovely miter saw (which little man calls Jaws) to chop it into staggering heights.


And used hubby's handy light-weight drill to drill some holes into the tops.


Little man got to pick the paint colors...
and knows his mommy loves her blue :)


And we got to work painting those pumpkins.


Here they are all painted and dressed up...


After they were painted, I gave them a good sanding.
Because wood with such pretty grain needs to stand out a little!


The twig stems were just hot-glued into their snug little holes.


I think the tall black one with it's burlap ribbon is my favorite.
But that was a totally easy guess.
because burlap is my love :)


So how 'bout it?
Was it worth it to add another wooden pumpkin tutorial to the world?

post signature

Linking to: