Pages

June 28, 2016

Dresser Turned Entertainment Center


We are home!!
We officially took Disney World & Universal Studios by storm last week and had a blast!!!

It was hot and super busy but the kids (and us!) had such a great time. 

If you want to see some of the cute Disney outfits I made for the kiddos, join me on Instagram here & check out all the cuteness!!
Instagram is the best place to keep up with all my day-to-day craziness in case you get bored waiting for me to post :) 

I've been dying to share this piece with you FOREVER!
But I've never had a great chance to get good pictures of it until now. 

When we were in the old house, we desperately needed a better solution for an entertainment center- we had been using just a generic Target one for a long time and it was working ok, but I was dying for more storage and something a little bit prettier on the eyes. 
We had searched for something pre-made for a long time but never found something that fit our small wall the tv was on AND was cute. 

So finally, I had some luck when hubby brought this guy home one day...


The funny thing was that when he bought it, I never even thought about using it as our entertainment center. I just loved the size of it and knew it would be a fun makeover. 

But remember this gorgeous planked dresser I did several years ago? 
Well it popped into my head one day when I was working on a different piece and I immediately had to measure this dresser to see if it would fit our space!!
And it did!!
I love when things all fall into place :) 

First up was sanding the heck out of it. 


It needed a lot of sanding love. 
I added wood filler into some of the deeper grooves to help smooth the surface out. 
Then we needed to remove the drawers and supports from the top shelf area. 

We used the jigsaw to remove the supports. 

And the drawers were in too perfect of condition to just throw out so these were the ones that I turned into the adorable picture holders for Baby M's first bday party! 
Check out how to make your own here

So after the supports were removed, we needed to make the planks for the shelf we were adding. 
I made them in the same way as I did on our previous planked dresser


We used simple pine planks that we cut to size and sanded down. 
Then I stained them in my favorite dark walnut stain. 

Don't install them until after you've painted though!
It would definitely be a pain to have to tape off and paint around them after they were installed :) 

Speaking of paint, I wanted a gorgeous, glossy finish on it so I went with Valspars pre-mixed glossy enamel paint in satin white. 
It gives a beautiful, hard finish in a crisp white that I love. 

The other big thing I did to change the entire look of this dresser was to add updated hardware. 
I can't emphasize ENOUGH about how big of a difference simply changing the hardware can make!!


I'm a Hobby Lobby hardware addict so of course I found the most gorgeous pieces there for this piece...


I mean, the knobs are fantastic but LOOK at those pulls!!
Are they not just drop-dead gorgeous??

They were the perfect finishing touches to add to the lower drawers. 


Ready to see the entire finished piece?


Helloooooo gorgeous!!!
Isn't she pretty??

Now, if you noticed, that wall behind it is NOT small by any means.
That's because I made this piece for the old house but didn't get a chance to photograph it until we moved. 
Bleh. 


I'm just in love with how it turned out though!!
The crisp white finish against the dark walnut  boards is just perfect. 
We drilled holes in the back along the shelf to allow cords to go through. 
So it perfectly holds our DVD player, Xfinity box & our surround sound receiver. 


Although when we moved, we also acquired a brand new surround sound system which has the MOST pieces of anything ever. 
I mean, I never realized how many pieces you needed to get sound. 

AND our sweet little dresser is a bit dwarfed on this larger wall. 
And we won't even talk about how silly the size of the TV is in proportion to the entertainment center. 


So it's the saddest thing ever, but we've decided that it probably won't be able to live at the new house with us :/ 

The good news is that I have found the most BEAUTIFUL piece ever to replace it with. 
It's a lot bigger with gorgeous details.
AND it can hold some of that crazy surround sound equipment a lot better than this little guy can. 


I'm super sad that we are going to have to say goodbye to this piece but I'm hoping that I can find it a great home!!
If you're local, it'll be up for grabs soon :) 


And I'm super happy that the new piece will still allow enough room for Baby M's table to sit next to it.
Because she just loves that little table.
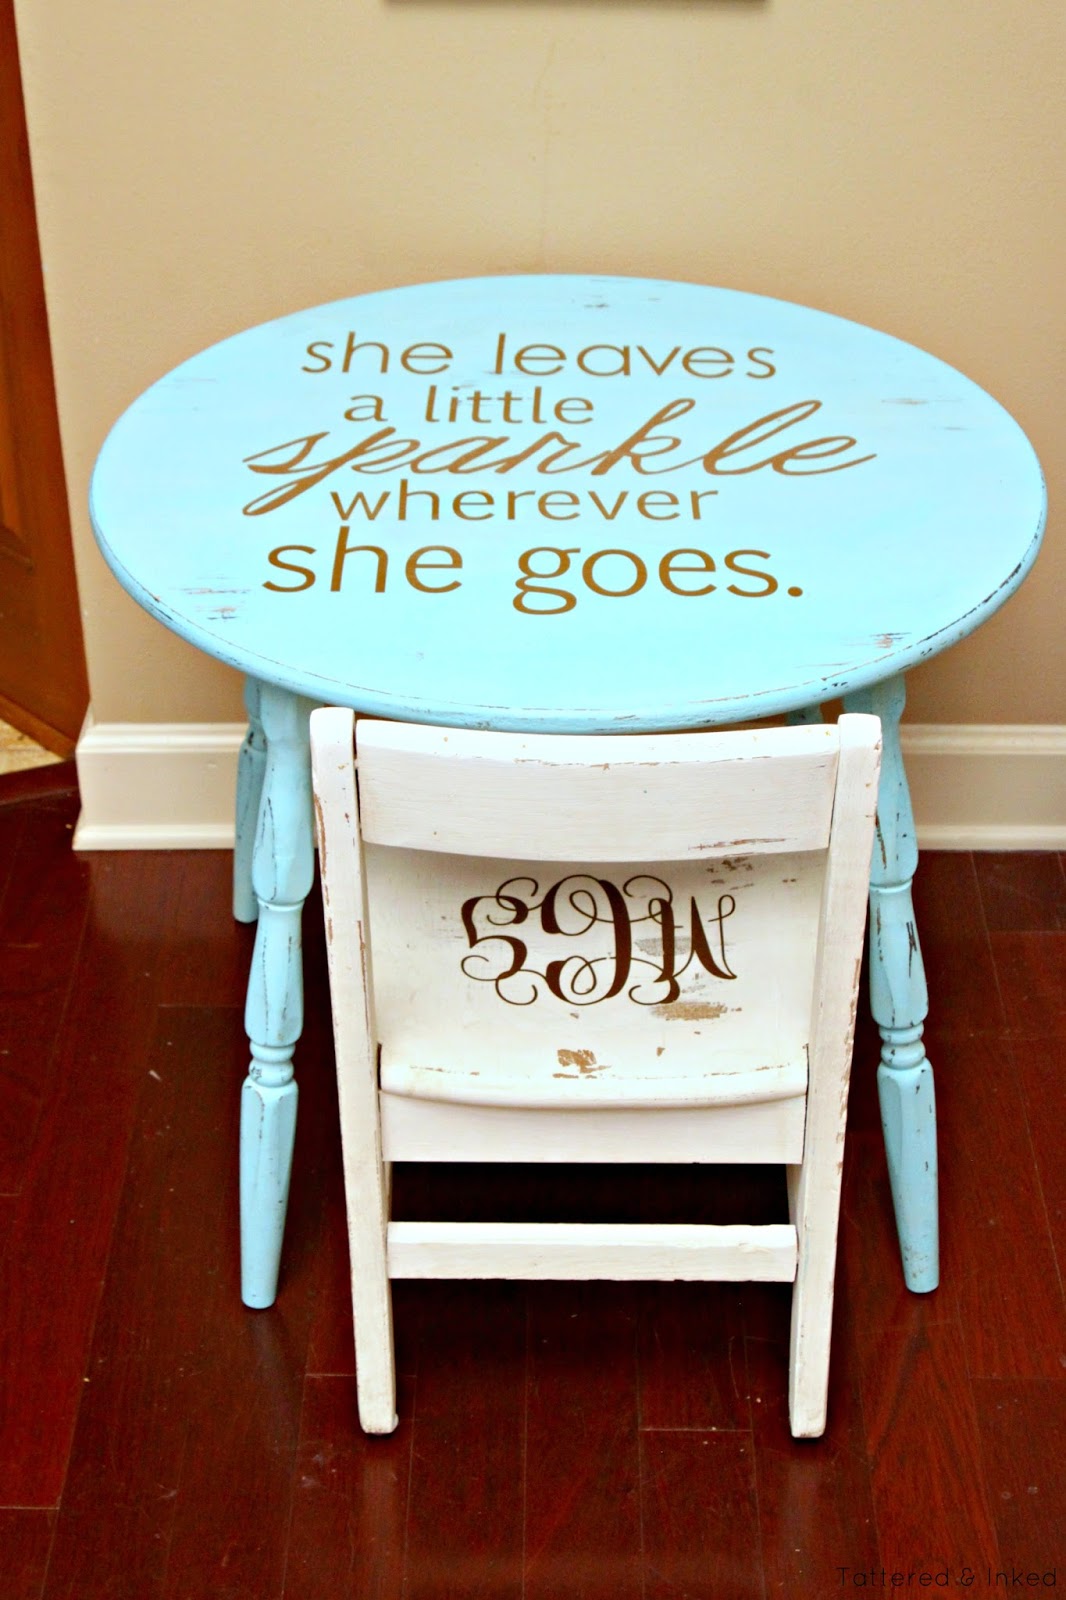
If you missed the makeover story on it, you can check it out here


I already have plans to incorporate those beautiful pulls on the new piece though, so don't worry. 
They are definitely my favorite part!!


Wanna know the truth behind the cute decor on top?
We moved back in October and I haven't yet decorated over here because I knew we'd be changing the piece out. 
I hate decorating and finding a set-up that I love just for it to get changed all over again so I just didn't bother with it. 

But then I needed pictures of it. 
So I threw a few things on top & ugh! I love it. 
So I guess it'll stay until I have the new piece ready to decorate :) 

I snagged that cute golden globe over at World Market while we were in Florida last week, isn't it cute?? 

Anywho, now that I've shared all my secrets, ready for the Before & After? 
It's amazing what it looks like now!!


I'm just in love with how this piece turned out and it really was the perfect little entertainment center for us in the old house!!
I know it'll be perfect in its' new home soon too though :) 


Like me on Facebook. Follow me on Pinterest. Subscribe to my feed
Pin It


Linking to: 


post signature

June 16, 2016

DIY Interchangeable Minnie Ears

The countdown is dwindling down today!
We are heading off to Disney World as of tomorrow afternoon & we have some crazy excited kids on our hands. 

I have been packing & making things the past couple weeks in preparation for our magical week in the Magic Kingdom (& Universal too!) so I have tons of fun Disney-related things to share with you!!
I haven't had a chance to finish taking pictures of everything but I wanted to pop in and share the EASIEST Disney project ever. 
I mean, ever. 

And your wallets (& husbands) will thank you ten times over. 

Every trip to Disney World means packing Mouse ears, right?
I mean if you search the internet for 1 second, you'll find hundreds & thousands of different themed ears from Star Wars to Aladdin to everything you could possibly think of. 
And anywhere in the price range of 10-50$!!!
Pure craziness. 

I'll admit that I really thought about going all out in making Mouse ears- especially for Baby M who LOVES Minnie Mouse. 
But for every outfit I was setting out, I realized it'd need different colors for the ears. 
Um- five different set of mouse ears for each day? 
No thanks.

So I had a brilliant idea while staring at a cheap pair of Mouse ears at Walmart...why not make ONE pair of ears that I can change out the colors on???

Seriously. It's probably been done before but I was pretty proud of my genius idea. 
Thus...the interchangeable mouse ears!!


Here's what you need to make your own: 
*Mouse Ears (I got mine at Walmart for less than $5!!) 
*Black Felt
*Hot Glue Gun
*An assortment of bows on alligator-type clips. 

Here's what mine looked like from Walmart...


I wasn't wild about the wimpy bow on the ears that I bought- Minnie bows should definitely be bigger and blingier!!
But the ears themselves were pretty cute and not super cheap looking, so that's all that's important for this. 

So first things first, remove the bow that's attached to the ears. 
After removing mine, there were a few hot glue spots from where the bow had been attached. 
No problem, peel it off the best you can and then just flip those ears over. 
They were hardly noticeable anyways. 

Here's mine right after pulling the bow off and before I peeled off some of the glue residue...


After pulling the bow off, take your black felt and cut a small rectangle from it. 
Have your hot glue gun heating up while doing this. 


Take your felt rectangle and wrap it around the headband in the space between the ears. 
Only apply glue on the back side and underneath the rectangle. 
That way there's a little hole at the front of the ears- big enough to slide a clip through.

Here's what mine looked like after adding the felt rectangle-


Now here comes the complicated part...

Um. Wait. 
There IS no complicated part. 
You are DONE. 

Now all that's left is to start clipping on some bows!!
Choose bows that have alligator clips- the ones I like are the longer ones. 
Here's the back of one of the bows I'm using...


Now start going crazy with adding bows to your new blank canvas!!

I added two of my mini sparkle bows from my favorite bow shop here to create little pigtail mouse ears. 
The bigger ones are the perfect size for the ears too!!


Cotton bows & huge bows still look just as cute!!


I'll have a super easy tutorial on how to create some easy non-sew bows soon!!
My favorite thing about this project (besides the fact that it took less than 5 minutes to do!) is that I can mix and match any of the bows in our collection for a new look!!


Now we have ears for every day of the week!
Meeska, Mouseka, Micky Mouse!!

I'll be out this next week while we enjoy our time at Disney but I can't wait to share pictures of our trip & all the fun outfits I created for the kids!!

Happy Thursday friends, enjoy your ears!!!


Like me on Facebook. Follow me on Pinterest. Subscribe to my feed
Pin It


Linking to: 


post signature

June 13, 2016

A Tiny Table & Chair Makeover

Happy Thursday lovelies! 
I wanted to pop by and share a fun little makeover I did last year for Baby M- it's one of our favorite things in the house right now!!
So last summer, I found this little round child's table curbside, ready to be thrown away. 


I'm constantly surprised by what people end up throwing out. 
Although worn and it's finish had seen better days, 
all this little table needed was a bit of paint and some tightened screws. 

I knew I wanted it to be a cute place for Baby M to eat snacks, color and do other toddler-y things at, so I set it aside for a few weeks in a hunt for a cute kid's chair. 

Cue my parent's barn. Good thing they don't like to get rid of much- I found a little brown (solid) chair in the barn that used to be ours when we were little. 
It had seen better days too. 


Armed with my tiny table and chair, I went to work. 
I painted the table in a custom mix of aqua blues- a little bit of Watery, Ebbtide and I think possibly a hint of my favorite, Mint Whisper. I got crazy mixing before writing it down so that's as good as I got for ya, sorry. 


I mixed in a little white paint to give it a fun aged look to it after the aqua had dried. 
Then distressed the heck out of it. 
Since a toddler would be using it, I knew it'd get well worn and there'd be lots of 'love' to it, so I figured distressing would make me less crazy about keeping it looking 'perfect'. 

Plus it has the cutest legs that were just crying out for some attention. 
Distressing definitely helps accentuate pretty curves and details. 

After painting, I decided to add a fun quote on the top to give it a little something extra. 
I ordered gold and glittery gold vinyl and whipped out a quote on my Silhouette. 
It's hard to tell in the pictures but the 'sparkle' word is done in a gorgeous glitter vinyl which is just beautiful! 


I didn't seal it on just in case I wanted to change it later. 
If you want more protection for yours, make sure to add a layer or two of Polycrylic.
But mine has held up wonderfully and I wash it nearly every day. 

Moving on to the little chair. 
Now, I'll be honest here. 

When I was redoing the chair, we were in the middle of moving and I needed it done fast. 
Fast plus moving boxes plus just wanting it DONE created a not so great effect in the paint I chose. 
I really needed to use a tougher enamel paint to go over the wood finish. 
Instead I used just a regular flat paint (more like a chalky finish) and it's not my favorite. 
I'll repaint it as some point. 
But for now, here she is...


The reason I haven't gotten around to repainting is because I added the cute gold monogram and haven't been in the mood to tear it off and re-cut another one. 
Lazy, Lazy, I know.
But it's still cute & distressed for now. 


The old house didn't have a good spot available for her table to sit but in the new house, it sits nestled next to the entertainment center. 

It's perfect for pulling out for afternoon snack or letting Baby M color to her heart's content. 


And Micky stickers, lots of Mickey stickers. 


In case you were wondering how it's held up to sticky strawberry messes & crayon marks without being sealed, it's a dream to clean up!!
I just wet a magic eraser a tiny bit and it gets every single mark every single time. 


It's pretty remarkable for a roadside piece that was destined for the landfill, right? 
Check out the before & afters and tell me you don't believe in a good rescue!!


We just love this little table & chair duo- it's one of Baby M's favorite things in the house!
It definitely serves us well :) 


I get crazy excited about a good makeover but even more excited when I'm actually allowed to hang onto it- most of the time they go up for sale after they are finished. 
But I love having a little painted magic happening in our home too. 

What do you think? 
Worth rescuing? 


Like me on Facebook. Follow me on Pinterest. Subscribe to my feed
Pin It


Linked to: 


post signature